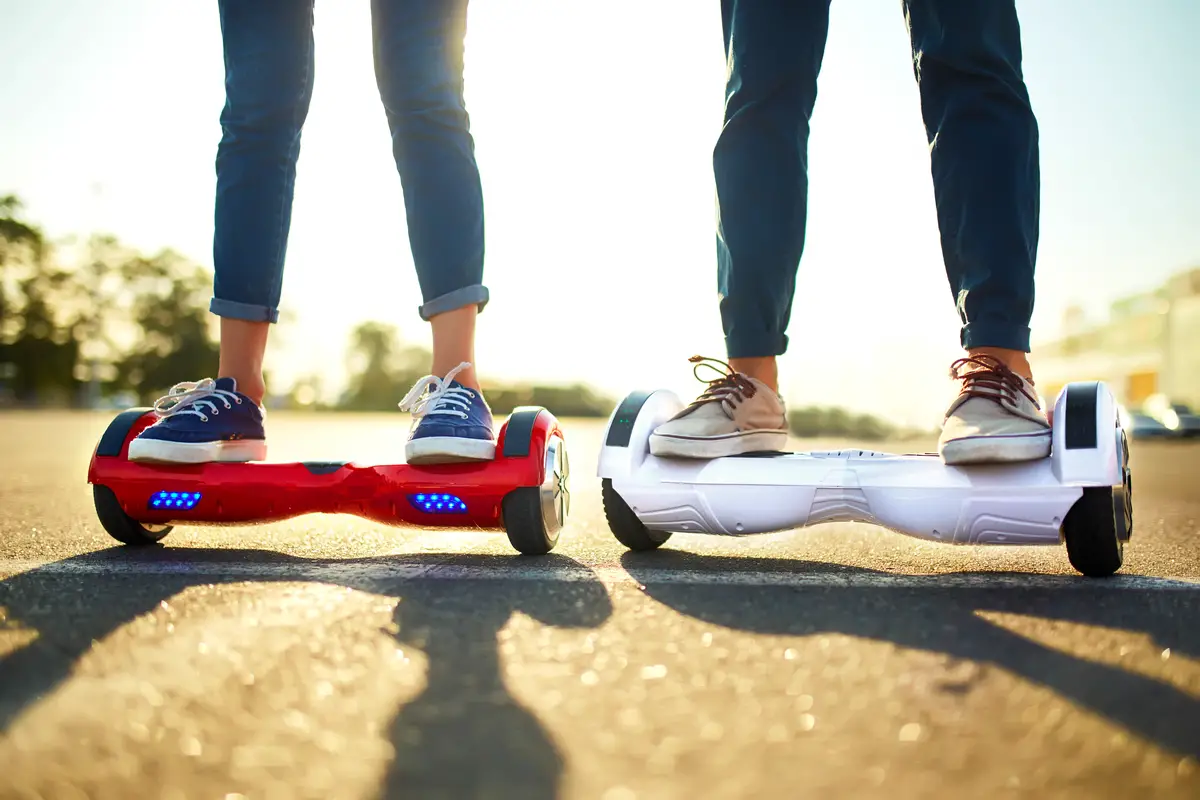
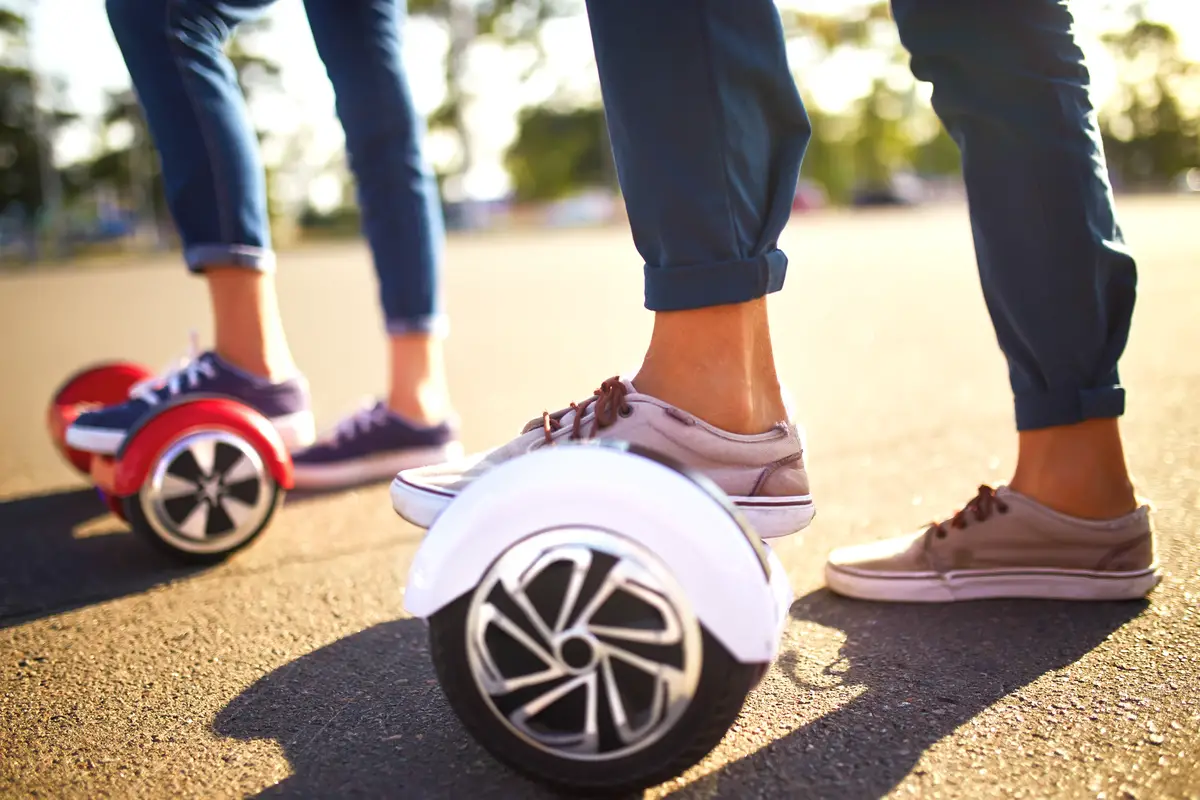
The key feature of any hoverboard is its ability to keep you upright with as much stability as possible. A hoverboard is nothing without its self-balancing ability.
So, what happens when this defining feature goes out of whack and stops working? This is when you need to learn how to reset a hoverboard.
We’ll be going over several common scenarios that occur when a hoverboard won’t calibrate, when one side of the hoverboard is not working, how to calibrate a hoverboard and more.
A hoverboard malfunction can be caused by multiple issues and knowing the warning signs can be helpful. Sometimes the issue is as drastic as one side of the board refusing to respond, but other times the signs are more subtle.
If your board feels even slightly slower than normal despite having a full battery charge, that could be a sign that it needs calibration. Sometimes it can be hard to put your finger on, but if the board somehow feels uneven or isn’t self-balancing as easy as it used to, this is a sign that it requires calibration.
While hoverboard problems can originate from many different sources of the device, the majority of issues can be traced back to one of the most important components of the device: the gyroscope.

When calibrating a hoverboard you will probably end up calibrating the gyroscope. This is the part that is responsible for the board’s balance and stability. Not every hoverboard comes with a hoverboard reset button, which is why knowing these steps is so important.
You know you need to calibrate the hoverboard’s gyroscope when only one side of the board is working. If your hoverboard only works on one side causing you to move only in circles, this is a key sign that the gyroscope is the issue as opposed to the motor or the battery.
In order to calibrate hoverboard you will also need to perform a hoverboard reset as the device needs to be turned off entirely in order to begin this process properly. The following instructions will work with nearly any hoverboard brand.
If your hoverboard is experiencing an issue where it won’t turn off, try the reset method. For many hoverboards this involves holding down the power button for an extended period, but consult your instruction manual in case your board requires more specific steps.
This is very important as the calibration needs a flat ground in order to have as accurate a recalibration setup as possible, otherwise you may calibrate the gyroscope on an angle.
Soon the lights on your hoverboard will begin to flash. Wait for around a minute for this process to complete. During this part, do not move the hoverboard as this is the moment when it needs to remain flat, still and level.
Make sure to ride it to lock the recalibration in.
That’s all there is to it, now your hoverboard’s gyroscope should be fixed and good as new.
Some of the more expensive or advanced hoverboard models available are compatible with a proprietary smartphone app. These smartphone apps often give you access to extra features such as improved locking or safety functions, a battery life indicator, a speedometer and more, but they also come with calibration or reset features too.
If you have a hoverboard that is compatible with a smartphone app, the previous instructions may not have worked for you, leaving you to ask yourself why the hoverboard reset not working. If this sounds familiar, follow the following steps:
Step 1: Look up and install your hoverboard’s smartphone app from whichever app store you use.
Step 2: Pair the app with your hoverboard so that they are connected. Unlike in the previous steps, you will likely need to keep your hoverboard on during this process.
Step 3: Make sure your hoverboard is flat and still despite still being on.
Step 4: Go into your app’s setting and look for the feature that involves calibration or recalibration.
Step 5: Follow the instructions that appear during this phase. Your hoverboard should now be back to normal!

Once you finish these steps, the very next thing you should do is ride the hoverboard to make sure it’s working fine.
Pay attention for the issue and see if it’s still there. If it was a speed related issue, see if it can accelerate normally now. If the issue was that the hoverboard only works on one side, check if both sides operate properly now.
If you followed all the steps properly and your hoverboard still isn’t working properly then the odds are that you have a hardware issue that cannot be fixed from software. Odds are something to do with the motor or the gyroscope is malfunctioning.
In this event, one route you can take is to take up the company on their warranty. Email or call the company and see if the warranty applies to you. Make sure to tell them all the details, including how calibration didn’t work for you.
If the warranty doesn’t apply to you, you will have to look into getting a replacement for the malfunctioning part. Take your hoverboard to a repair expert and get a diagnostic so that you know exactly which part is broken. You can then get a sense of how much it will cost to replace or repair.
If it can be repaired, that will be the cheaper option. It’s also a great choice if the hoverboard you’re using was a particularly expensive one.
If the part can’t be repaired and needs to be outright replaced, that will potentially cost you more money. Some hoverboard parts aren’t too pricey like frames, bumpers or shells. However, if it is the gyroscope or the motor that needs replacement then that can set you back quite a few.
Thank you for reading our guide on hoverboard calibration and how to reset a hoverboard. We truly hope that this has helped you with any hoverboard issues you’ve been experiencing lately.